Hey~Friends.
It’s time to share the inspiration for making greeting cards, today I want to share a very beautiful Cutting Dies with Flowers in the Umbrella, this one is so beautiful, mainly including umbrella, flowers and leaves. It can be used as a decoration for birthday cards. Ok, let's see how to use it to make a nice greeting card.
First, take out the Cutting Dies with Flowers in the Umbrella, which contains an upside-down umbrella, two flowers and two leaves. And you can also find some other decorations, here is Flowers Metal Cutting Dies. When you look closely at this umbrella, our crafter also shows the folding sense of the umbrella. With the flowers and leaves that can be decorated on the border of the umbrella, the atmosphere of a whole spring is blowing.Then cut out these shapes with a cutting machine.
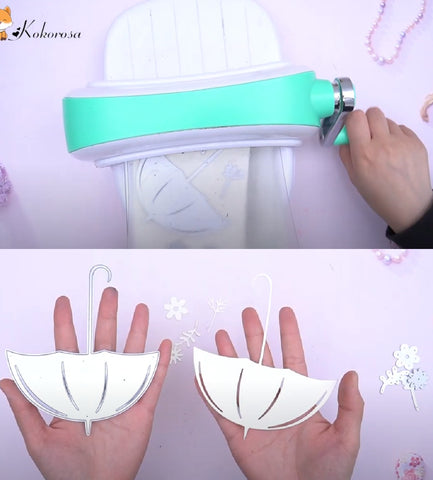
The second step is to paint the umbrella handle with the corresponding color, sure, you can also choose any color you like.
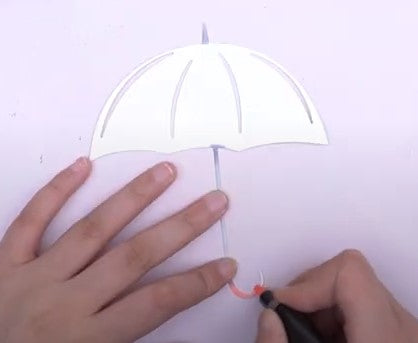
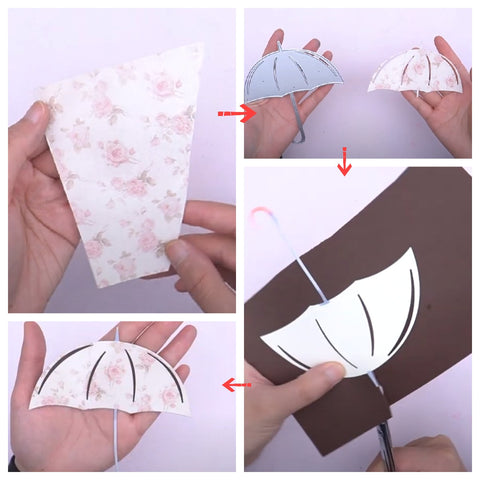
The third step is to take out the cardboard with small flowers pattern, and also use the cutting machine to cut out a shape of the umbrella.
The fourth step, take out a khaki cardstock paper and glue the cut white umbrella pattern to the khaki cardstock, then cut out the shape of the umbrella. After cutting, paste the cardstock paper with the small flowers together with it, and then form a shape like the picture.
The fifth step, you can take out the distress oxide like shown in the picture to paint the flowers, the color can be optional.
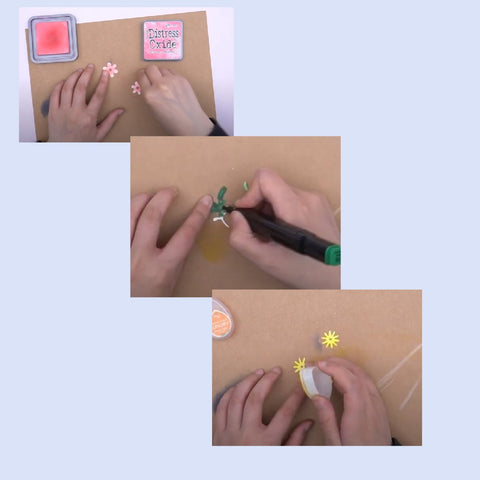
Next, find the stamens decoration and make a full flower, after the flower is done, you can use tools to make the petals more three-dimensional
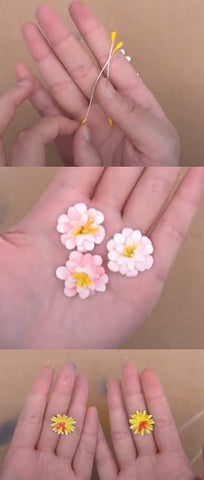
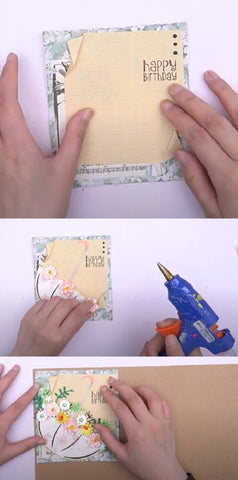
Next, find the appropriate words with the corresponding theme you want to make, such as happy birthday text, and cardstock paper with small floral patterns. If you have no idea for flower cardstock paper, I can recommend you this set, Flower Texture DIY Scrapbook & Cardstock Paper, it includes 24pcs different flower pattern cardstock paper, you can choose any one you like, so next, glue them together one by one.
Next step, glue all decorations to the cardstock paper with a glue gun.
Then, find a piece of kraft paper as a base plate, and paste the card you just made on it and cut it well.
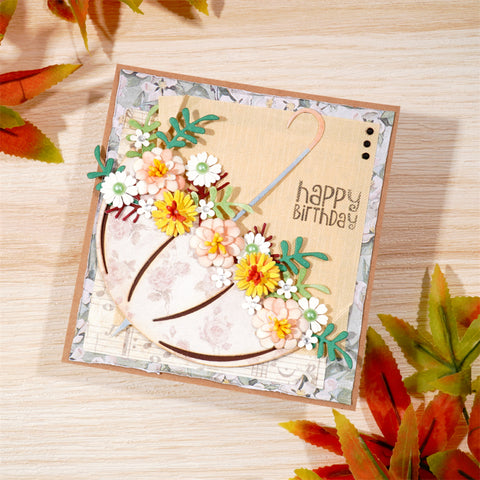
Finally, our card is finished. This perfect happy birthday card can be wating for you to use.
Do you like today’s sharing? If you want to see more card making process, you can follow our YouTube channel,or you want to share some feelings about your card making, you can leave the comments under this blog. Okay, time to say goodbye, I hope today’s projects will inspire you for making cards, see you for next sharing!

